Set Up Your Dev Environment
This tutorial will guide you on how to set up your dev environment to quickly start developing on Cortex XSOAR. While in Cortex XSOAR you can write code directly in the UI, which is awesome, you'll need a proper development environment external to Cortex XSOAR to contribute a full integration. This is because, in order to build a full fledged integration, you'll need to lint your code, run unit tests with pytest, create some documentation, submit your changes via git and more.
If you've been through this process already and just want a quick reference, you can jump to the Development Setup page, otherwise keep reading for more details.
This tutorial will guide you through the following steps:
- Verify the requirements
- Fork the GitHub repo
- Clone the GitHub fork locally
- Set up the environment
- Run the linter and unit tests
- Create a branch and integration directory
- Commit and push
Step 1: Verify the requirements#
Let's go make sure that all the requirements are satisfied, one by one.
Cortex XSOAR#
We are assuming that Cortex XSOAR is already installed. For more information about installing Cortex XSOAR please refer to this article (Support Center credentials are required)
Check if your Cortex XSOAR License is correctly installed by navigating to Settings -> ABOUT -> License and make sure that everything is green:
PRO tip: you can quickly navigate to different pages within Cortex XSOAR by hitting Ctrl-K and then typing what you want. For the license page, for example, type /settings/license or just lic and select the autocompleted option:

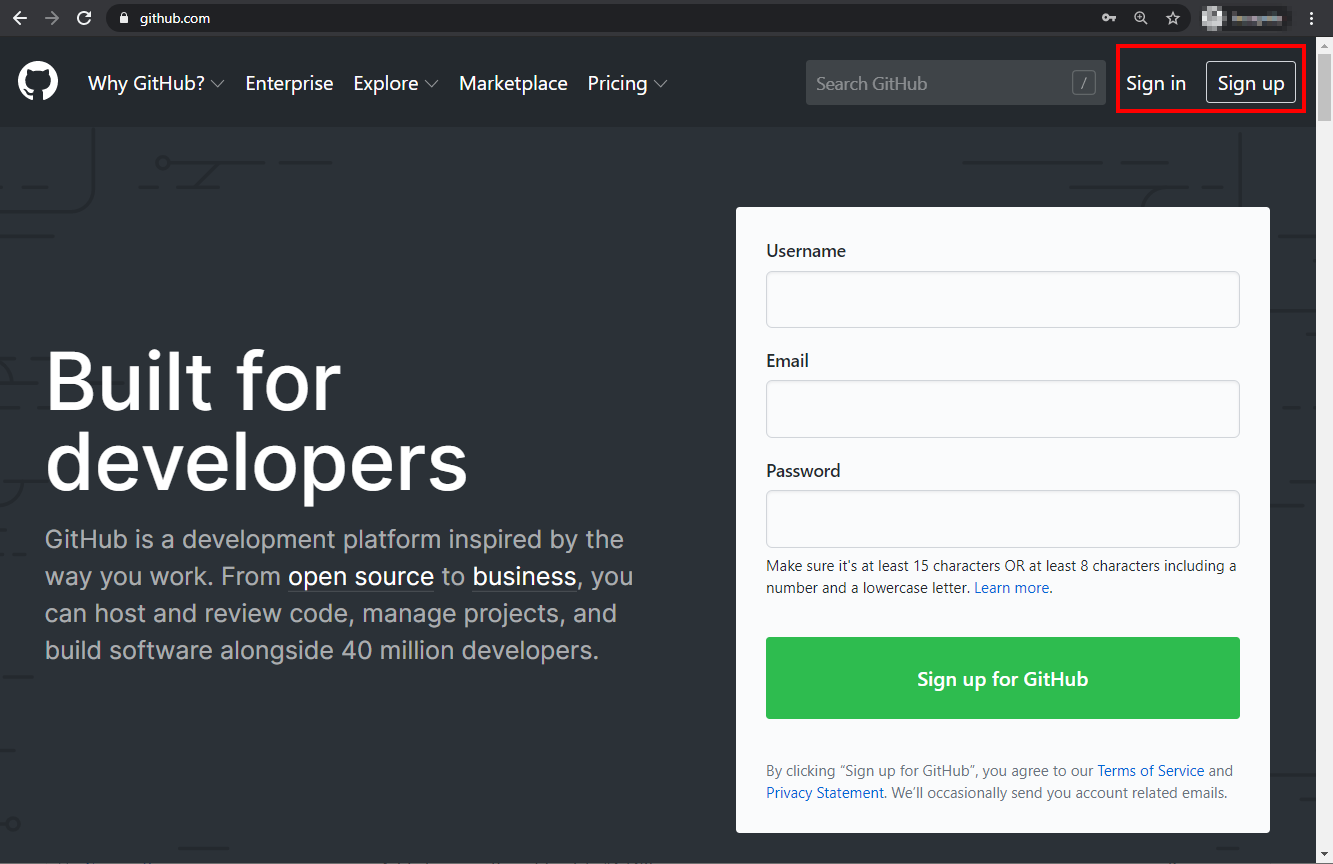
GitHub#
Not much to check here, just go to GitHub and make sure that you have an account or Sign Up for one:
Docker#
Make sure that docker is installed on your system and is working correctly by running the hello-world container:
info
Make sure that Allow the default Docker socket to be used (requires password) is enabled in Docker advanced settings.
tip
If you are using WSL2 on Windows, you can still use Docker Desktop from WSL.
See the following tutorial for more details.
Great, all the prerequisites are set! We can get started.
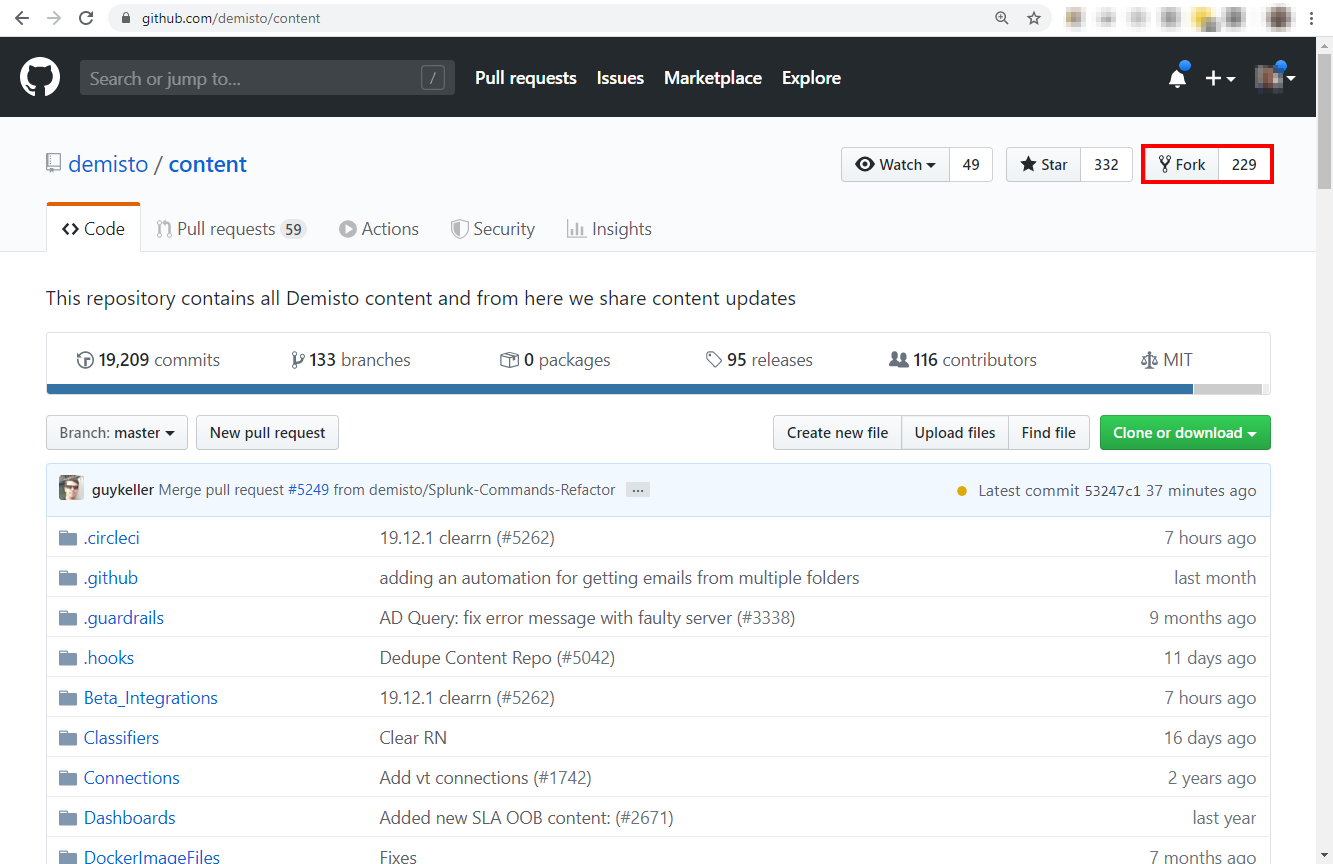
Step 2: Fork the GitHub repo#
Make sure you're logged on GitHub and navigate to the Cortex XSOAR Content Repo and click on Fork:
Once the fork is complete, copy the URL:
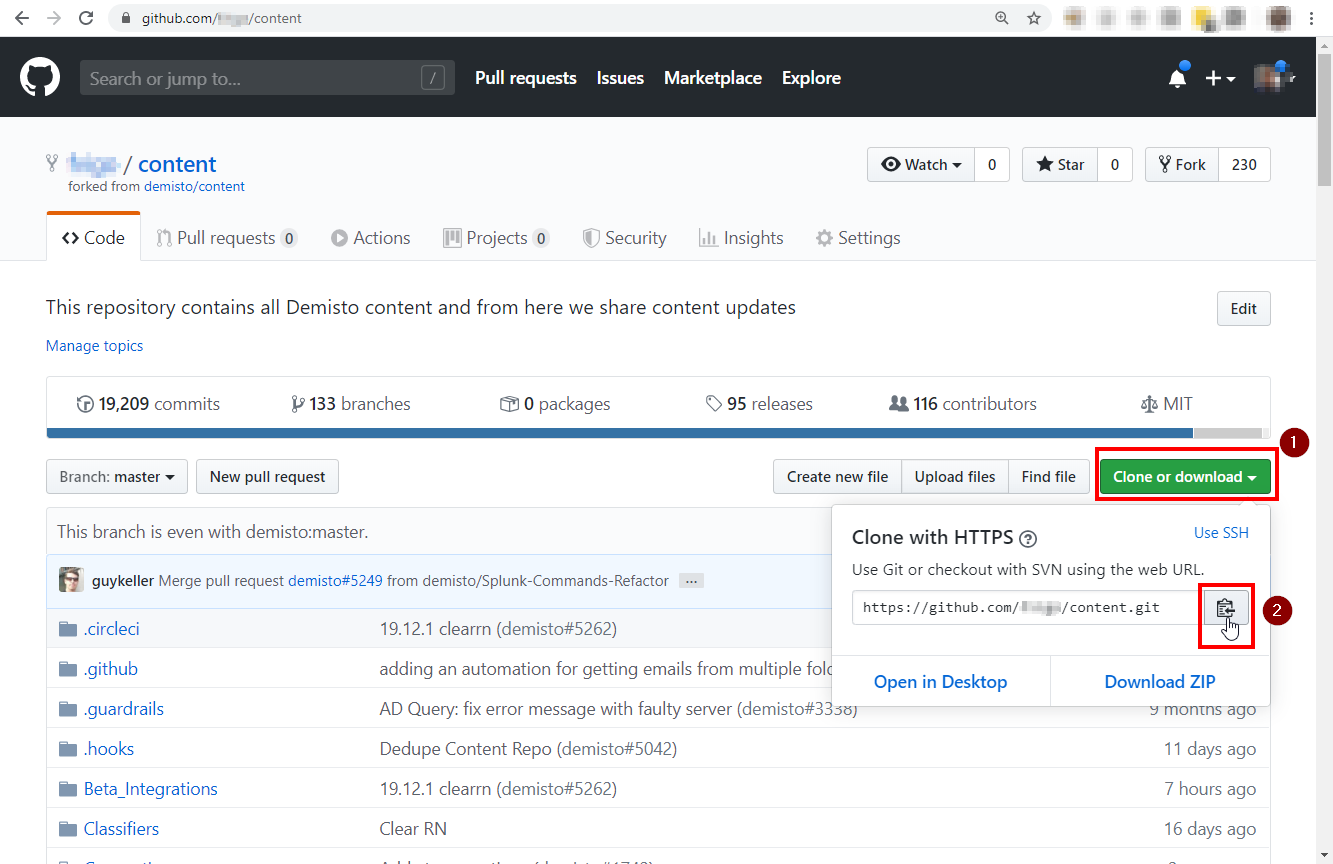
This is the fork where you will commit your code and, once ready, create the Pull Request to submit your contribution back to the Cortex XSOAR Content repository.
Step 3: Clone the GitHub fork locally#
Back to the shell, create a folder (in the tutorial we'll use ~/demisto) and clone your fork of the content repository using git clone [your_fork_url], where [your_fork_url] is the URL you copied from GitHub in the previous step:
Note: You must clone your fork of the repository, as you will need to be able to write into it. Do not clone demisto/content, as you won't be able to push commits.
Step 4: Setup environment#
Option 1: Setup a remote environment#
Follow the instructions in this guide.
Option 2: Setup a local environment#
Let VSCode extension set up a local environment (Linux, MacOS, WSL2)#
Follow this guide to set up a fully configured local environment.
Manually set up a local environment (Linux, MacOS, WSL2)#
Operating System#
We assume you have an operating system and that it is working. :)
Note: If you are using Windows with WSL, and your code resides in a shared folder on the Windows tree (i.e., /mnt/c/code/demisto), make sure that the folder is set to be case sensitive.
Python and pyenv#
You will need python3 installed on your system. We recommend using pyenv. At the time of this writing, the latest version of Python 3.10 is 3.10.5.
Make sure pyenv in installed and that the eval "$(pyenv init -)" expression is placed in your shell configuration (~/.bashrc or ~/.zshrc) - more information about this.
If this doesn't work, follow the instructions here. Either Homebrew for MacOS or the automatic installer on Linux/WSL works fine.
Make sure that the required version of Python is available:
If this doesn't work, follow the instructions here. Either Homebrew for MacOS or the automatic installer on Linux/WSL work fine.
If the required version of Python is missing, you will need to install it. As pyenv compiles CPython, you might need some libraries. Depending on your operating system, this article explains how to install the required dependencies and provides useful troubleshooting info.
Now is a good time to take a break since installing might take a while.
Install Python 3.10.5:
And that's it! Again, if the installation fails, check out this page.
Poetry#
Follow these instructions to install poetry
Node#
Follow these instructions to install the nvm package manager.
After installing, run:
Bootstrap#
Before running the bootstrap script that creates the virtual environment, let's set up pyenv to work correctly in the content folder you just cloned.
At the beginning, no local python interpreter has been set via pyenv:
You can tell pyenv to use the latest version Python 3 you previously installed and verify that everything is set correctly:
Now you can run the .hooks/bootstrap script that will install the dependencies and create the poetry environment:
Note: if you are using WSL and you see some errors about "python.exe" getting called, disable it in App Execution Alias (details).
Everything is configured, and you can start developing. When you work on your integration, you can activate poetry with the poetry shell command:
Note the (.venv) in front of the prompt. You can always leave the poetry virtual environment using the deactivate command:
Step 5: Run the linter and unit tests#
Our content ships with an HelloWorld integration that provides basic functionality and is useful to understand how to create integrations.
It's located in the Packs/HelloWorld/Integrations/HelloWorld folder. We will use demisto-sdk to run the linting and unit testing in order to make sure that everything is fine with the dev environment (python, docker, etc.).
First, make sure you are running inside the poetry virtual environment:
Then, make sure that demisto-sdk has been installed automatically by the bootstrap script as part of the preqreuisites:
Now, run the demisto-sdk lint command on the folder Packs/HelloWorld/Integrations/HelloWorld using the -i option,
or if you want to run against all the committed files in your branch you can use demisto-sdk lint -g.
It will run both the linters and pytest:
Note that the tests run within a Docker container so, if everything worked well, it means that your development environment is up and running correctly!
Step 6: Create a branch#
The Git Flow requires to create a branch with your new code, that you will later use to submit a Pull Request. This tutorial doesn't mean to be an exhaustive guide on how to use git: its purpose is just to make sure that you have all the requirements and tools in place to successfully develop a Cortex XSOAR Integration.
In order to create a branch, use the git checkout -b [branch_name] command, where the name of the branch corresponds to your integration:
Step 7: Create your integration directory#
Create a directory under Packs/<Your pack name> named after your product where you will put all your content files later, and add it to the staged changes in git. Make sure you use PascalCase in the directory name (i.e. MyIntegration).
For a detailed description regarding what exactly a pack is please click here.
You can create a Pack and an Integration directory using the demisto-sdk init command.
An example of creating a pack called MyNewPack, with an integration called MyIntegration, and with the metadata file created automatically:
Step 8: Commit and push#
The last step is to commit your changes and push them to the origin in order to make sure that the pre-commit checks work fine.
But you can also run the hooks locally using the demisto-sdk, in order to do that you can run the commands:
demisto-sdk format- this will auto correct couple of things in order for our validation to pass. You can see the docsdemisto-sdk validate -g- this will validate the integrity of the yml files, and will make sure they follow our pre-set of roles. You can see the docsdemisto-sdk lint -i <The path to your changed/newly added content entity>- this will run lint and pytest on your changed python files. You can see the docs
First, run a git commit -m '[some commit message]', which will automatically run the pre validation checks:
Don't worry about the .python-version file warning, that is generated by pyenv and shouldn't be added to the repository.
Note: since there are no files yet in the directory you have created (Integrations/MyIntegration in the example), it will not show up in your branch after the commit. Again, the purpose of this tutorial is just to make sure that all the components are in place.
If everything worked fine so far, now you can push to your branch with the command git push origin [branch_name]. You will be prompted for your GitHub credentials:
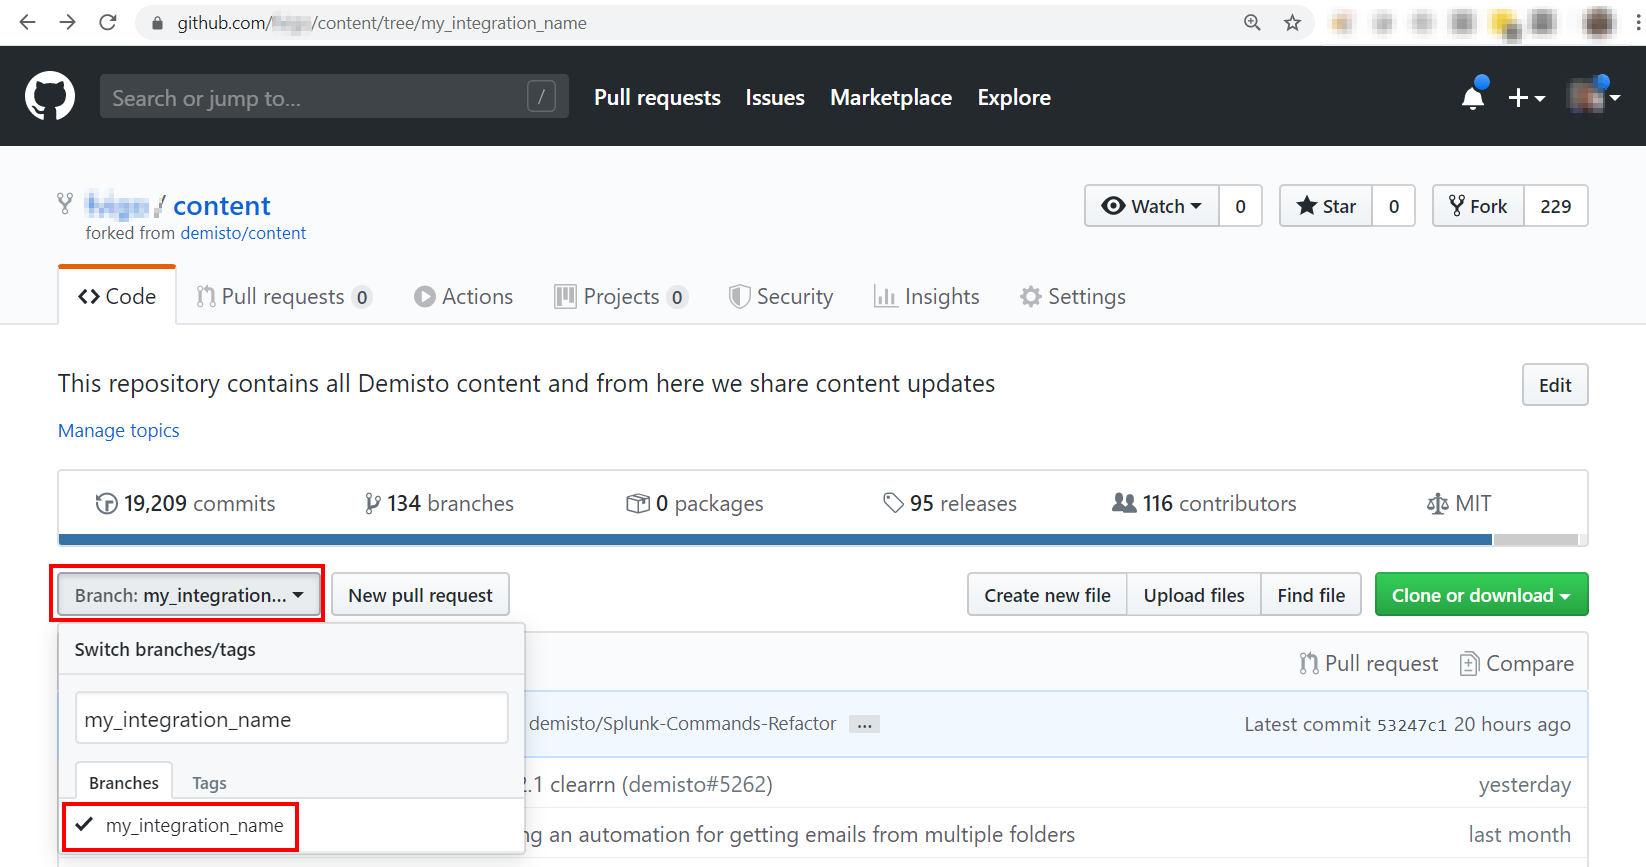
You can go back to GitHub and, under your fork, you should be able to see that there is a new branch with the name you provided (my_integration_name in this example):
Congratulations! You completed the set up of the Development Environment for Cortex XSOAR! Now you can start writing your code. Please have a look at the Code Conventions.
Thank for your time, we hope you enjoyed this tutorial. Please report issues and suggestions using the link below!